
← Back to the Homeowner Resource Library
Flooring
Why Floor Preparation Matters Before Tile or LVP Installation
The new floor is the part you will see. The surface beneath it helps determine how the installation performs.
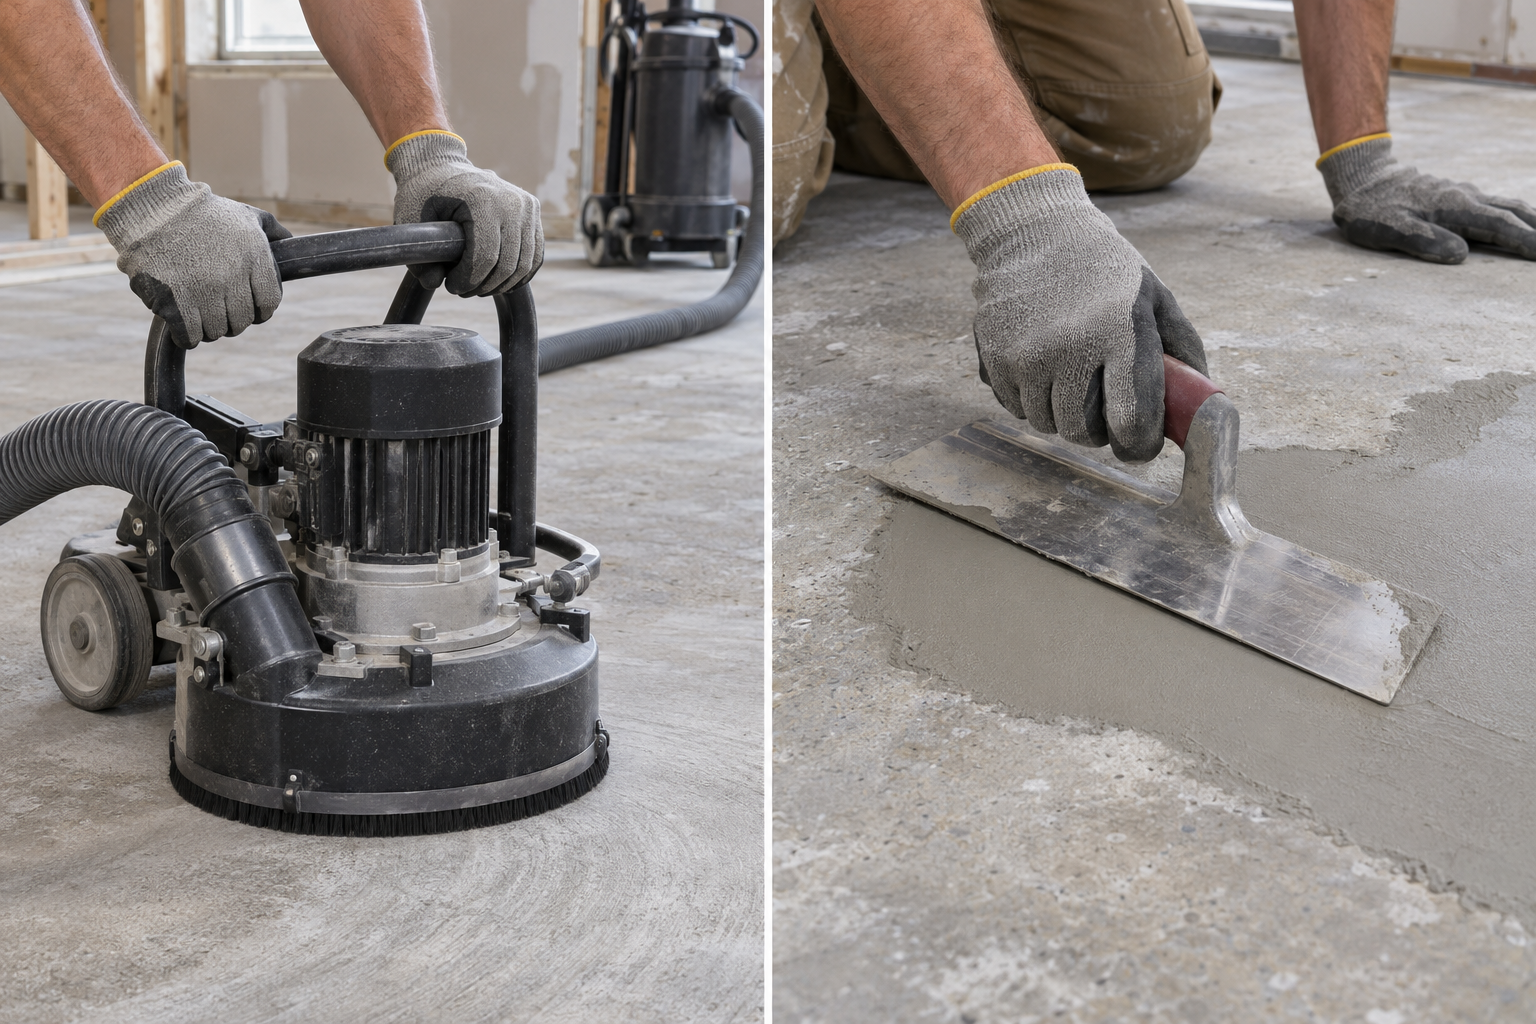
By Advanced Custom Renovations · Homeowner Resource Library · Image above: illustrative example.
The useful starting point
A successful installation begins with evaluating the existing surface and following the selected flooring system’s requirements. Tile and LVP can require different preparation.
Start with what is already there
Old flooring, adhesive residue, uneven areas, cracks, and changes between rooms all deserve attention before the first new tile or plank is installed. Covering a surface does not automatically resolve the conditions beneath it.
During planning, ACR evaluates the work needed for the selected floor and the existing home. Some preparation can be anticipated before removal. Other conditions may become clear once the old material is gone.
Flat and level describe different things
A floor can slope gradually and still be flat, or appear level while having local high and low spots. The installed product has its own surface requirements. The relevant limits and preparation method should come from that product’s current installation instructions.
Ask how the surface will be evaluated and what preparation is included in your proposal. Avoid assuming that every floor needs the same treatment or that a new underlayment will correct every irregularity.
Tile and LVP have different requirements
Tile installation needs a suitable substrate and an assembly appropriate to the materials and conditions. LVP may be floating, glued, or installed by another specified method, and preparation must suit that method.
A flooring product’s attached pad does not give permission to add any extra layer underneath it. Likewise, installing over an existing floor is only an option when the selected product, existing material, and site conditions permit it.
Shaw’s vinyl installation guidance, for example, stresses following the product instructions and evaluating the existing surface. Your selected floor’s requirements are the ones that apply to your project.
Moisture is a separate consideration
A floor that looks dry is not, by itself, proof that it meets a product’s moisture requirements. Ask what evaluation or testing applies to the chosen flooring and site.
Water-resistant or waterproof plank claims do not remove installation requirements for the substrate or the complete floor assembly. The preparation and product need to be considered together.
Plan transitions and finished heights
New flooring meets doorways, adjoining materials, baseboards, cabinetry, and other fixed elements. Changes in floor height can affect those connections.
Identify which rooms and connected areas are included.
Review the transitions between existing and new surfaces.
Confirm any removal, trim, or related work in the scope.
Share the exact product and installation instructions before ordering.
Discuss how new findings after removal would be handled.
Preparation is part of the installation
It may not be the part you are excited to photograph, but it deserves a clear place in the estimate and schedule. Ask what the proposed preparation accomplishes for your selected floor.
Choose the floor and installation together
Explore ACR tile flooring and LVP installation. After installation, keep our LVP care guide or tile and grout care guide close by.
General homeowner guidance. Your written project scope and the instructions for your exact installed products take priority. Confirm project-specific arrangements with the ACR team.
Further reading: Shaw Floors: vinyl installation guidance
More from the ACR Library
Tile Edging and Trim →
Shower Glass Options and Care →
Who Buys Remodel Finish Materials →
← Browse the full Resource Library
